
Wet Weather Boredom Busters – Make your own musical instruments!

When rainy weather sets in and you’re stuck inside with cooped up children, it can be tough to find something to keep them busy and interested for long. Try some of these wet weather boredom busters by making your own musical instruments and let their imaginations run free!
Learning music and movement in early childhood education skills like clapping, singing or moving, are some of the most complex activities a child’s brain will undertake. Mastering a musical instrument actually improves the way your child’s brain processes language. This means they learn language faster, how to read earlier and develop comprehension skills more easily.
So making music is not only fun, it’s a valuable part of your child’s educational journey. And it can be even more fun when you let their imaginations run wild with creating their own unique musical instruments.
Here are 7 musical instruments you can make at home with your children to bust wet weather boredom.
#1: Drums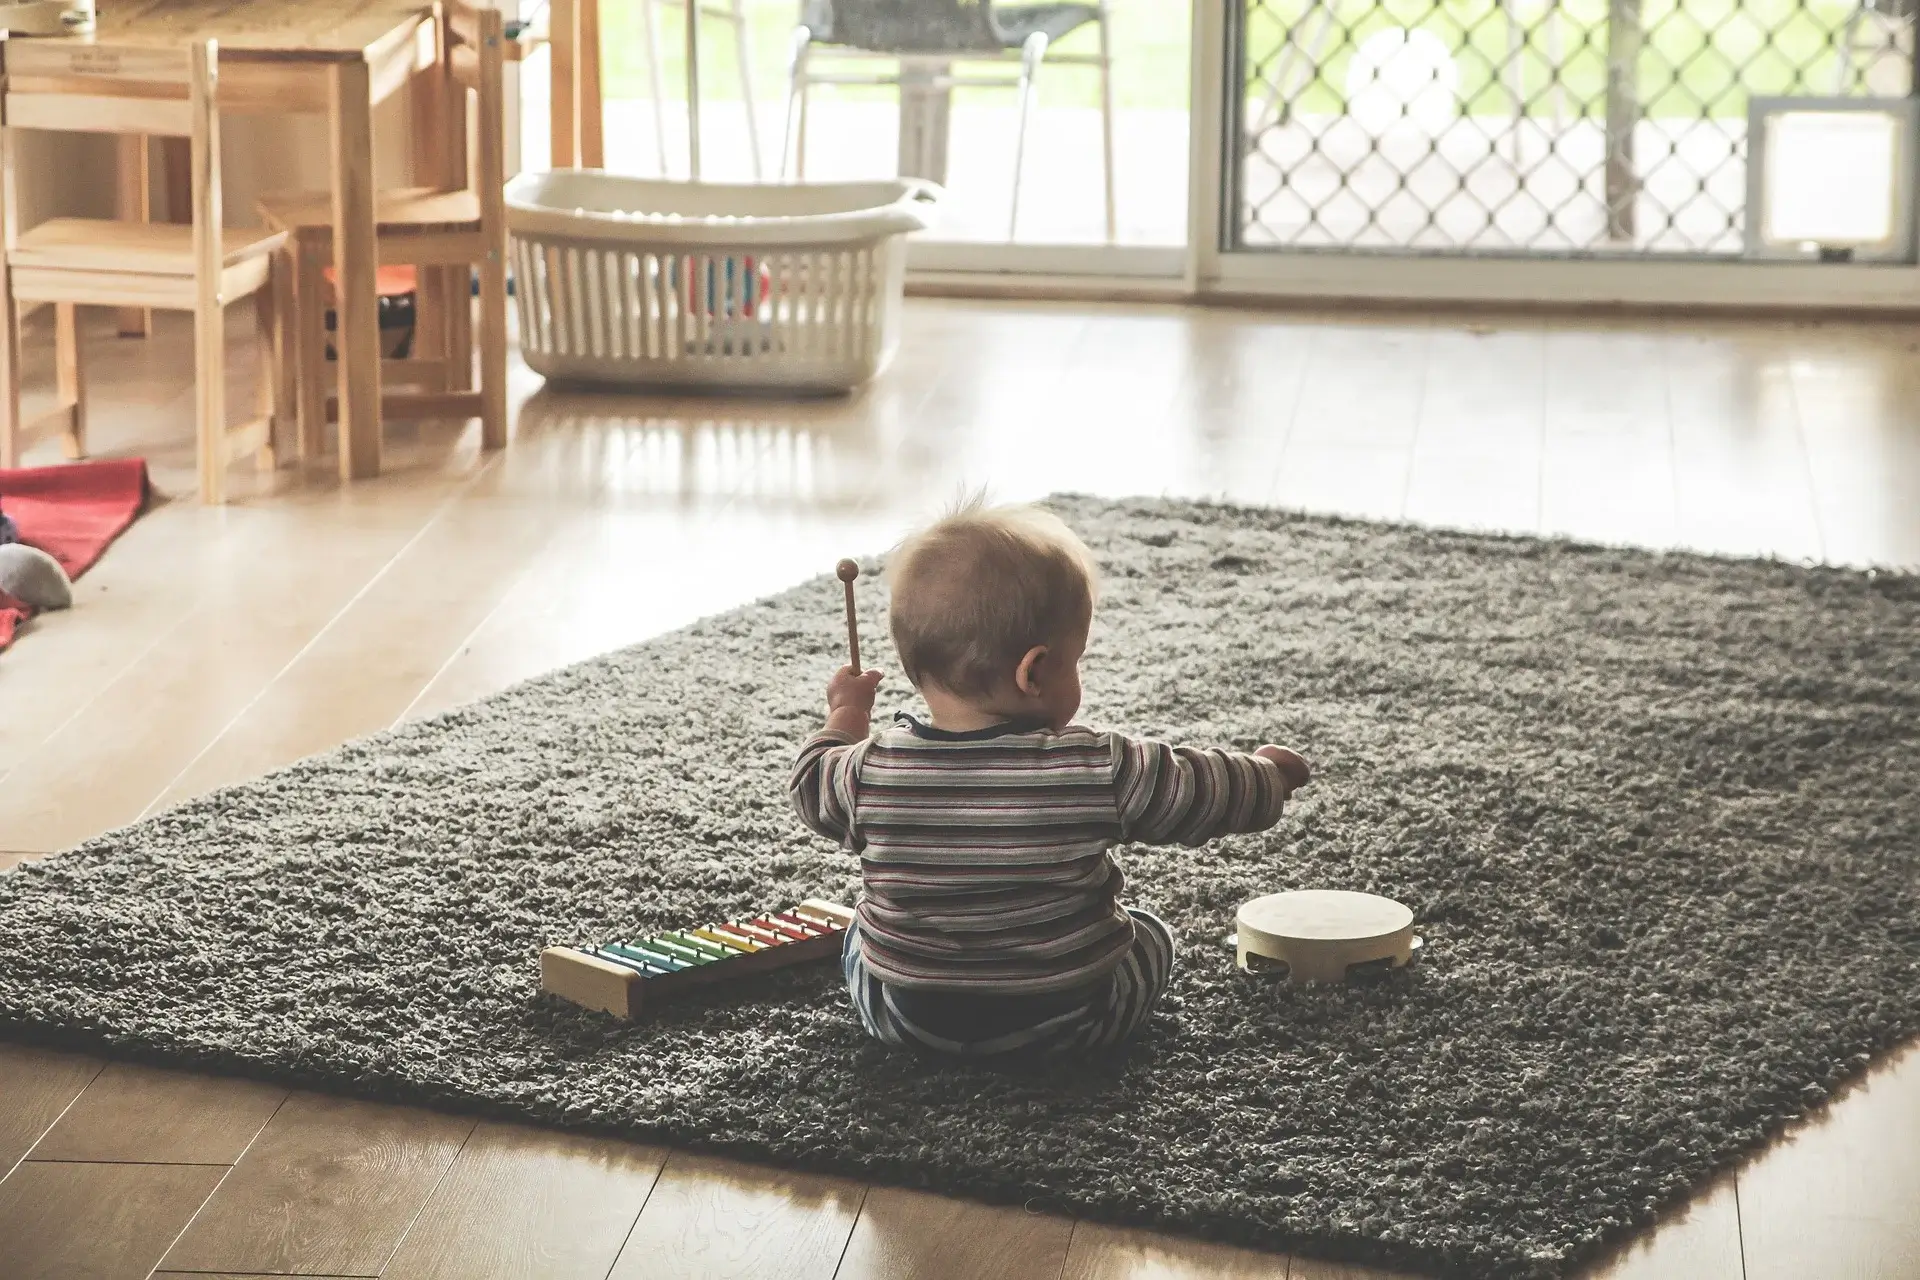
Percussion instruments are particularly attractive to children! There’s something deeply satisfying in whacking an object and making a lot of noise in the process.
Making a drum is very simple. Use a can or item with a round opening and cut a piece of paper to fit with extra space. Decorate the paper with textas or crayons; attach the paper over the hole with a rubber band or tape. Make two and tape them together for bongo drums!
Your child can use their hands to tap on the drums or experiment with different objects for drumsticks. A wooden spoon, spatula or even two pencils with elastic bands wrapped on the ends.
#2: Shaker
Keep a stash of cardboard tubes from empty paper towel, aluminium foil or even toilet rolls ready to make shakers whenever wet weather threatens to bring out the boredom.
To begin, take a tube and cut two circles slightly larger than the open end. Tape a circle securely over one end of the tube.
The fun thing about a shaker is you can change the sound depending on what you put in it. Pebble, beans, buttons, toothpicks, the choice is endless. Once you’ve added enough shaker material, tape the top circle on.
Decorate your shaker with your own unique design, glue on sparkles, fabric or scraps of wrapping paper. You can tie some ribbon around each end of the tube to give it a really unique look.
If you want to make a rainshaker, you need rice and a rectangle of foil that’s about three times longer than your tube. Twist the foil into a snake shape, then insert inside the tube. This slows down the fall of the rice and gives it that distinctive rainshaker sound. Pour the rice inside the tube, tape the top circle on and decorate.
#3: Clapping Sticks
Children really like to bang things together and clap sticks are a really easy DIY instrument you can make in no time flat. Clap sticks are used in cultures all around the world. In Australian Indigenous culture, clapsticks are called bilma and are used to keep the beat when the didgeridoo is being played.
You really only need sturdy pieces of wood, such as paint stirrers, piece of wooden dowel, or old broom handle sawn into smaller pieces for this activity.
You can leave the sticks as they are or paint them a solid colour as the basis for a design. Look up Australian Aboriginal art to get an idea of how it’s usually formed by a series of dots to create a picture or pattern. Set up some different colours in paint pots and using cotton buds, dip into the pain and touch them to the stick. Once the paint has dried, tap the stick together to start making a beat.
#4: Guitar
If you’ve got a tissue box in the recycling bin, you’ve got the makings of a guitar for your bored creative. No tissue box? Try a cereal box or similar and cut a hole on one long side in the middle.
Let the children decorate the box first if they want. Then simply stretch some rubber bands around the box so they’re laying over the opening. Add a guitar neck by taking a cardboard tube and taping it to the end of the tissue box. This is easiest if you cut slits about 2.5cm long and fold out.
#5: Tambourine
If you’ve got a stash of paper plates in the cupboard leftover from the last child’s birthday party, you’ve got a musical instrument ready to make.
Staple two paper plates together with the front sides facing. Cut the middle out (if you want, although if this is too hard just leave it). Let the children decorate the paper plates as they like with textas and crayons.
Punch holes around the rim of the plates, about 5cm apart. Using string, tie a bell to each hole and shake.
#6: Water Xylophone
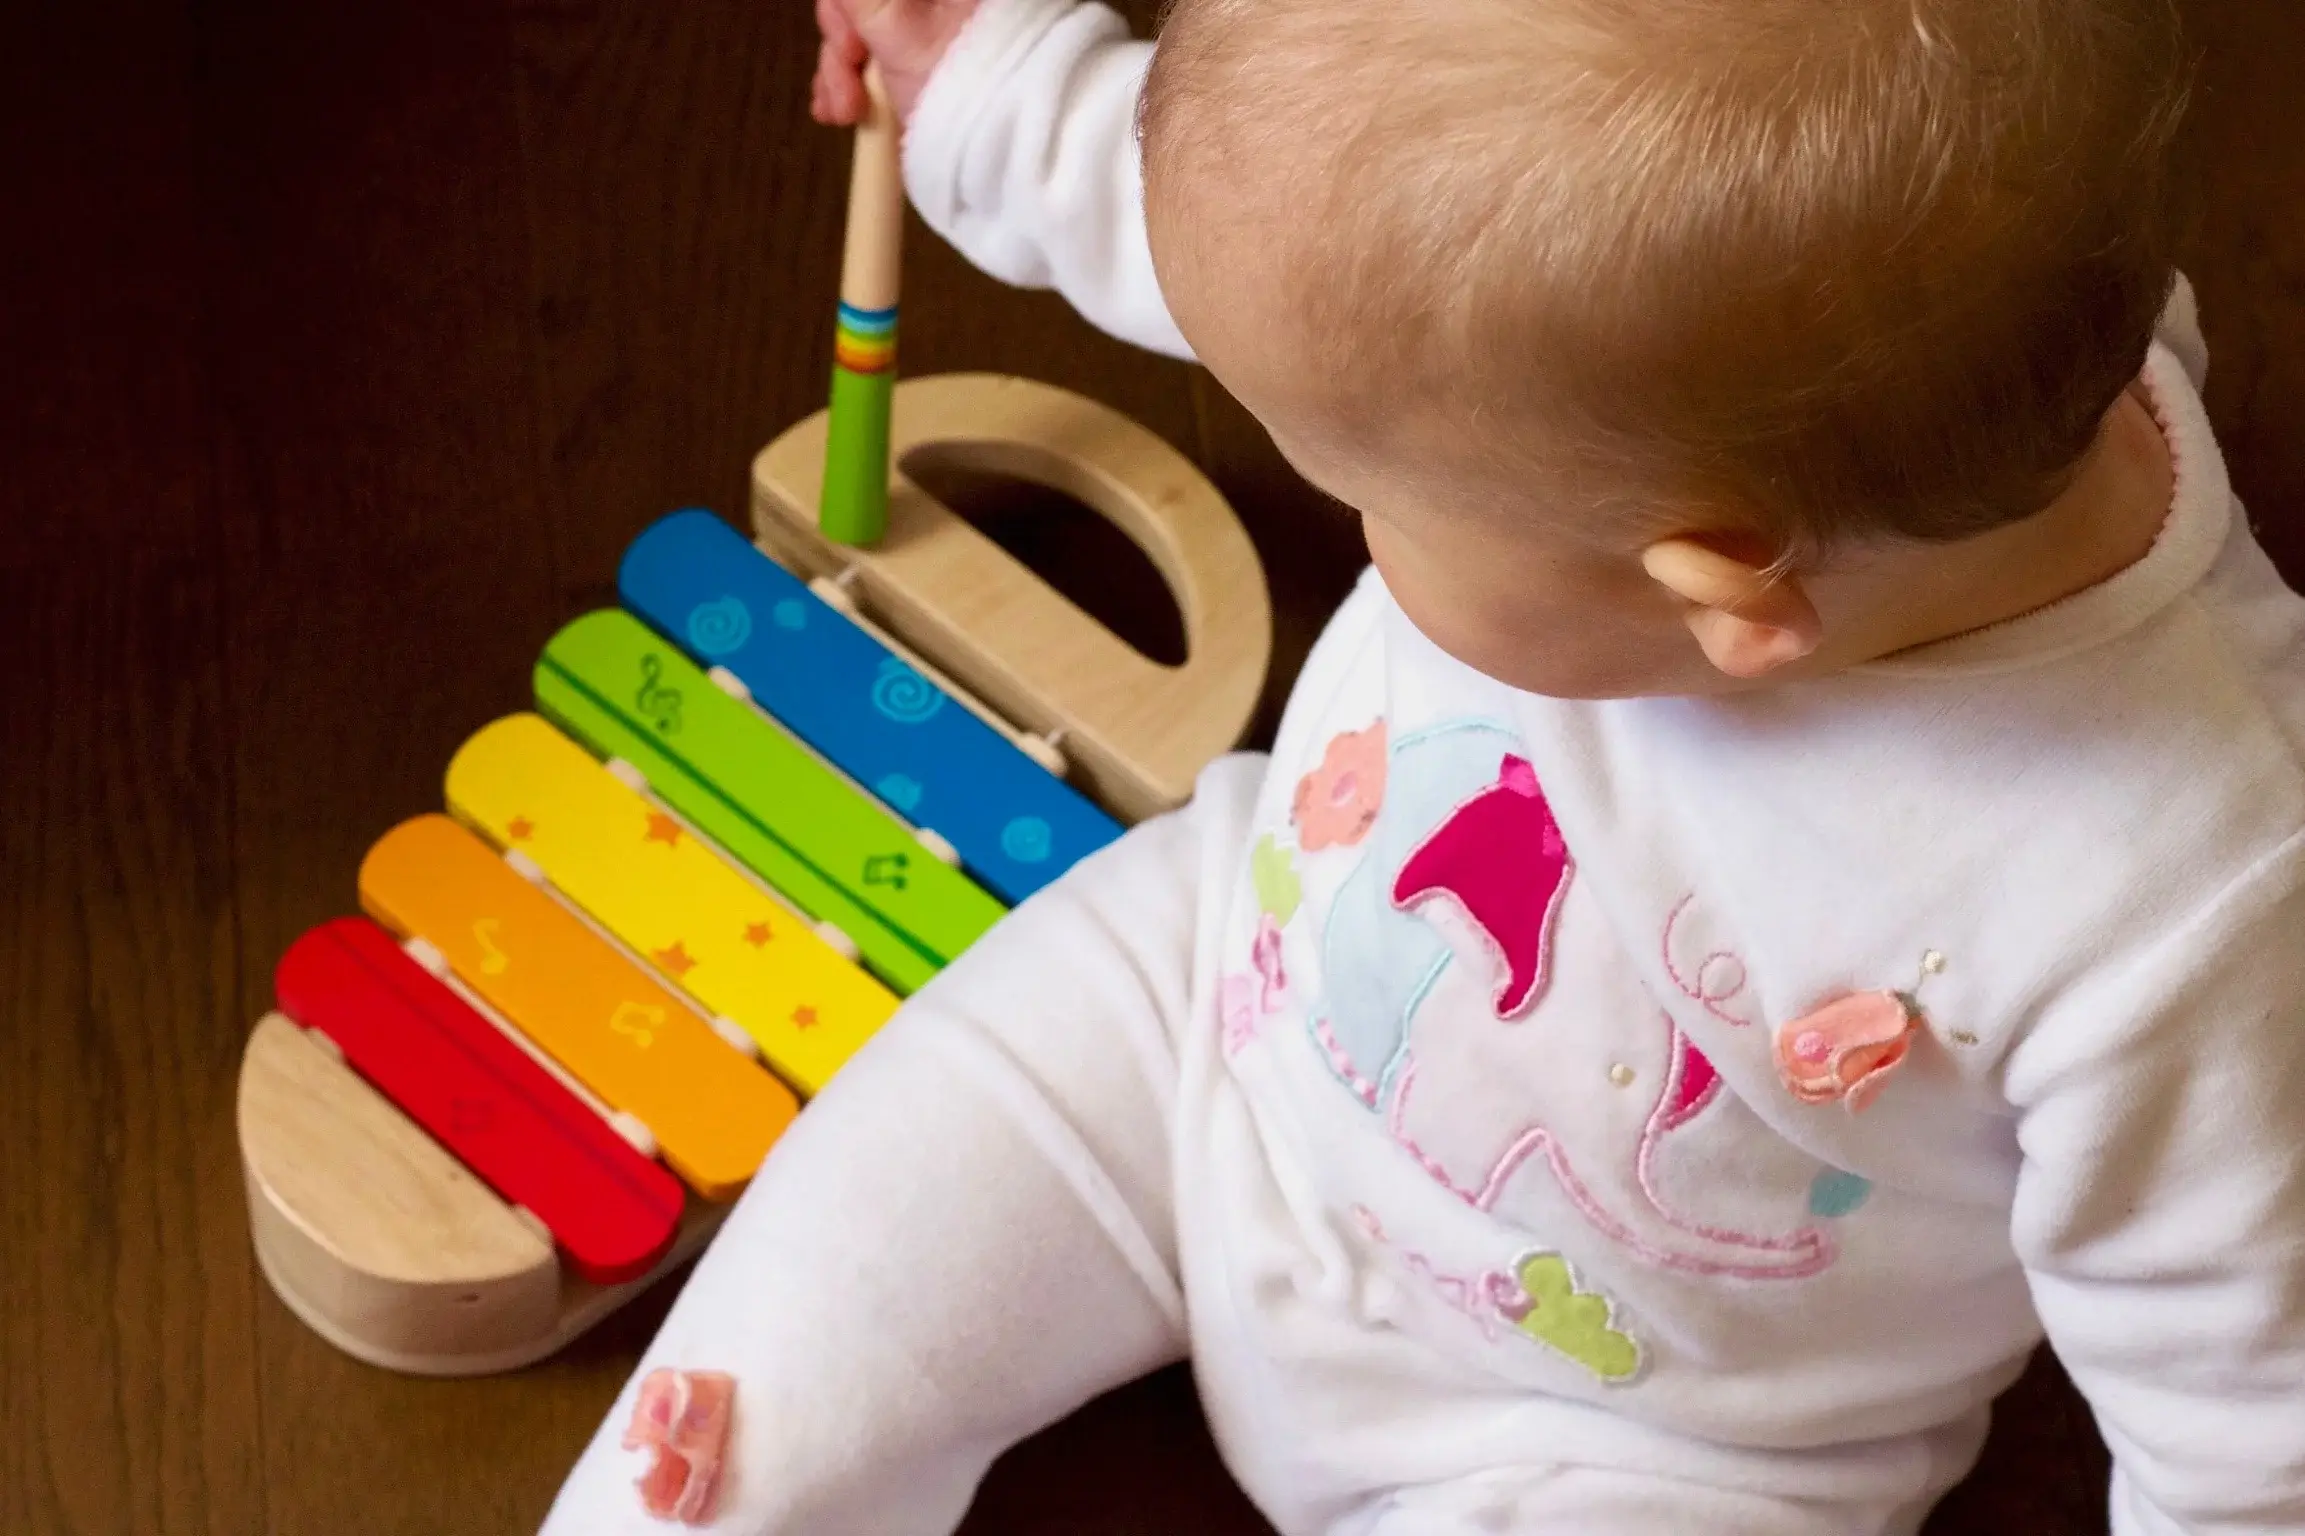
This is a great activity for children to learn about different pitches and tones.
Takes some jars, fill them with different amounts of water and set them up on a flat surface. If you want to make them look interested, add drops of food colouring to each jar.
To play, gently tap each jar with a wooden spoon and listen to the different sounds each makes, depending on how much water is in the jar. The more water you put in the jar, the lower the pitch. Less water will raise the pitch of the sound.
#6: Finger Cymbals
This is an especially great instrument for little children. Punch a hole into two identical sized jar lids. Poke a pipe cleaner through the hole and twist to make finger handles. Your child can put one on each index finger and bang together. Or make a set of four cymbals out of smaller lids that can be used like castanets.
#7: Kazoo
Making this old school musical instrument is as easy as pie and will entertain your bored children for hours.
All you need is an empty toilet paper roll, wax paper (or tissue paper if you don’t have any wax paper) and a rubber band.
First things first: decorate your toilet paper roll. Older children might like to trace a design, younger children can use crayons or add stickers. The next step should be done by a parent, as it involves poking a hole in the long side of the cardboard tube, around the middle. Cut a piece of wax or tissue paper and cover one end of the tube, securing with the rubber band. Then put the other end up to your mouth and hum or sing, experimenting to get different sounds.
Sam McCulloch is a freelance content writer and editor, with a special interest in parenting, birth and early education. Sam believes in the importance of building a village so no parent is left behind or feels unsupported. When she’s not writing great content, you can find her trying to keep up with three kids, enjoying the great outdoors or reading a good book.