
Glitter Bottles: How To
 Glitter bottles are a well-loved tool by us. Glitter bottle are easy to make and offer endless benefits. They have the capacity to help your child calm down if they’re feeling anxious, as the moving glitter gives them something new to focus on. They can also help your child manage their emotions when they need a minute to regroup. They are also simple to make, using household items and taking minimal time! You can easily make them personalised by simple changing the colour of the glitter you place inside the bottle. These bottles are therefore the perfect craft to undertake with or for your child!
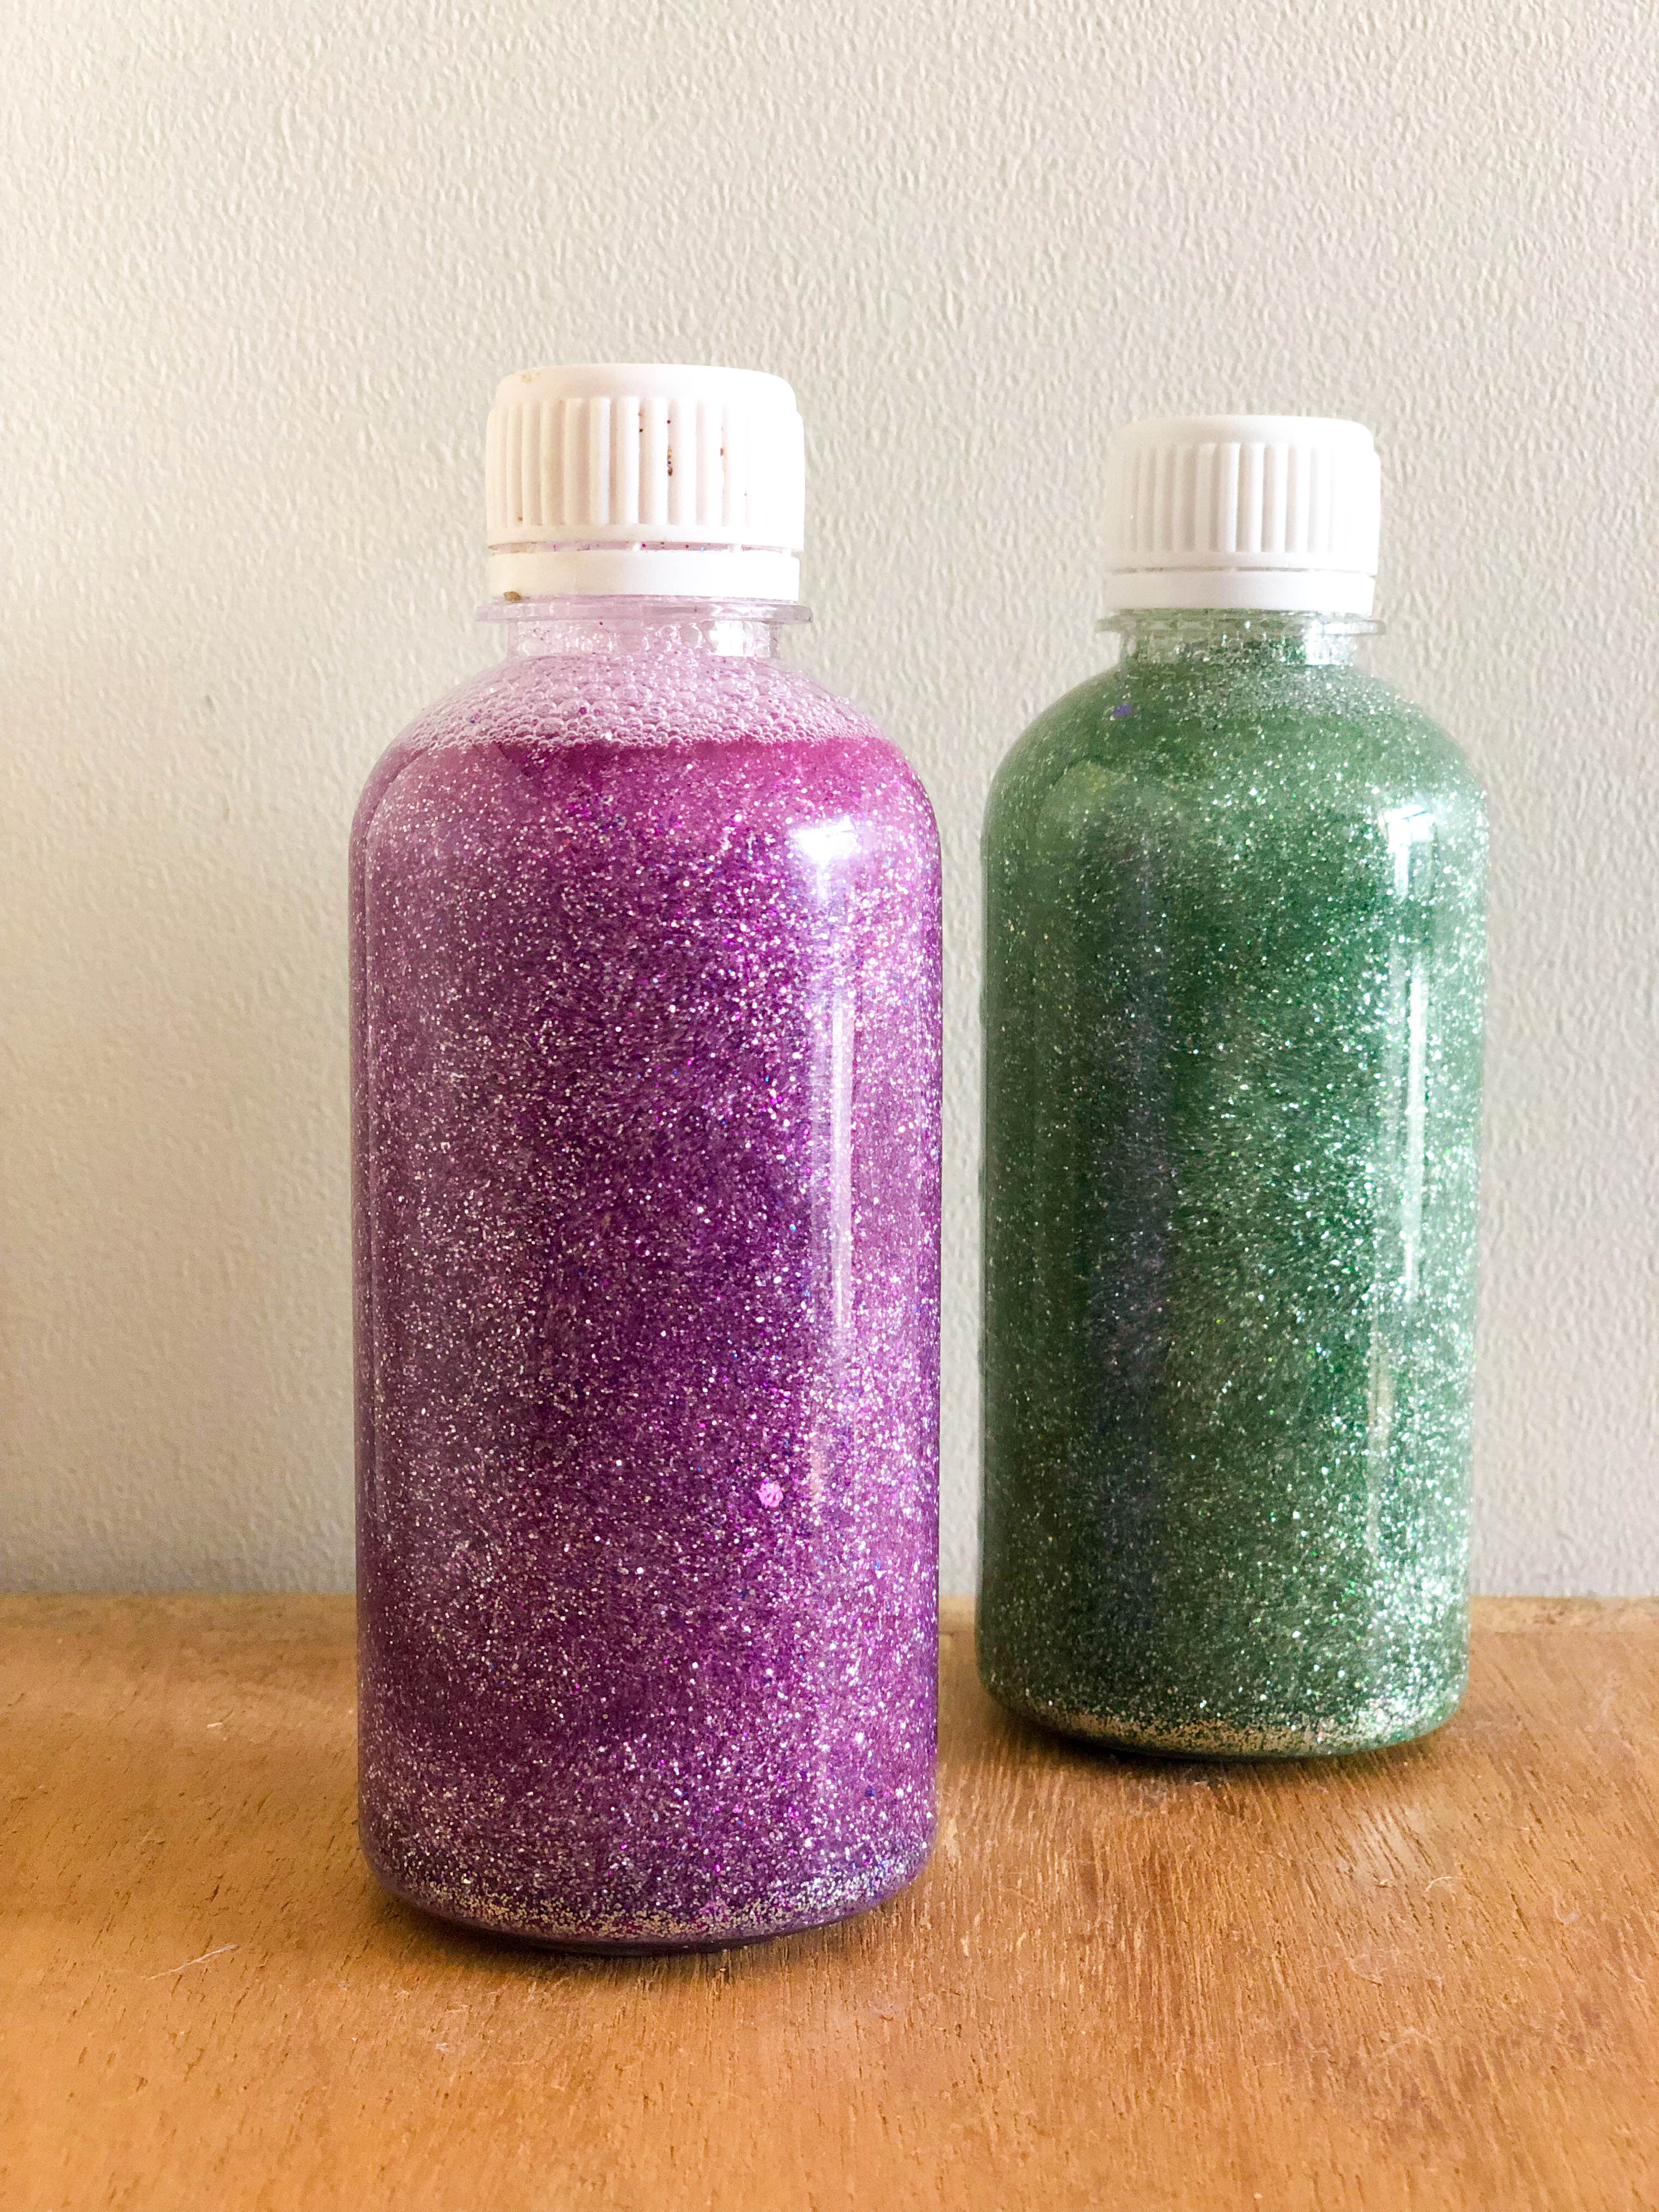
To make your own glitter bottles, you will need:
- Clear bottle with lid, such as an old
- Clear school glue
- Glitter – the finer the glitter, the better it flows. You can use a colour of your choice or even mix them!
- Warm water
Using these materials to make your bottle is as easy as:
- Make a mixture of water and glue; you will want around 1:4 glue and water ratio. Allow the warm water to dissolve the glue.
- Add glitter of choice to water mixture.
- Pour mixture into a clear bottle, leaving around 1-inch space at the top.
- Shake bottle to check the consistency – the glitter should settle slowly. If it is moving too slowly, or too quickly, adjust by adding more glue (to slow the glitter down), or water (to speed it up).
- Once mixture is perfect, allow to cool.
- Glue the cap on! You can use super glue to ensure that the lid is secure and your young one cannot take the lid off. If you are still concerned about the lid staying on, you can wrap in a strong tape.
- Once lid is secured, enjoy your new glitter bottle!